HARDWARE
CROWDFUNDING
OPTIMIZATION
ARDUINO LIBRARY
MANUFACTURING
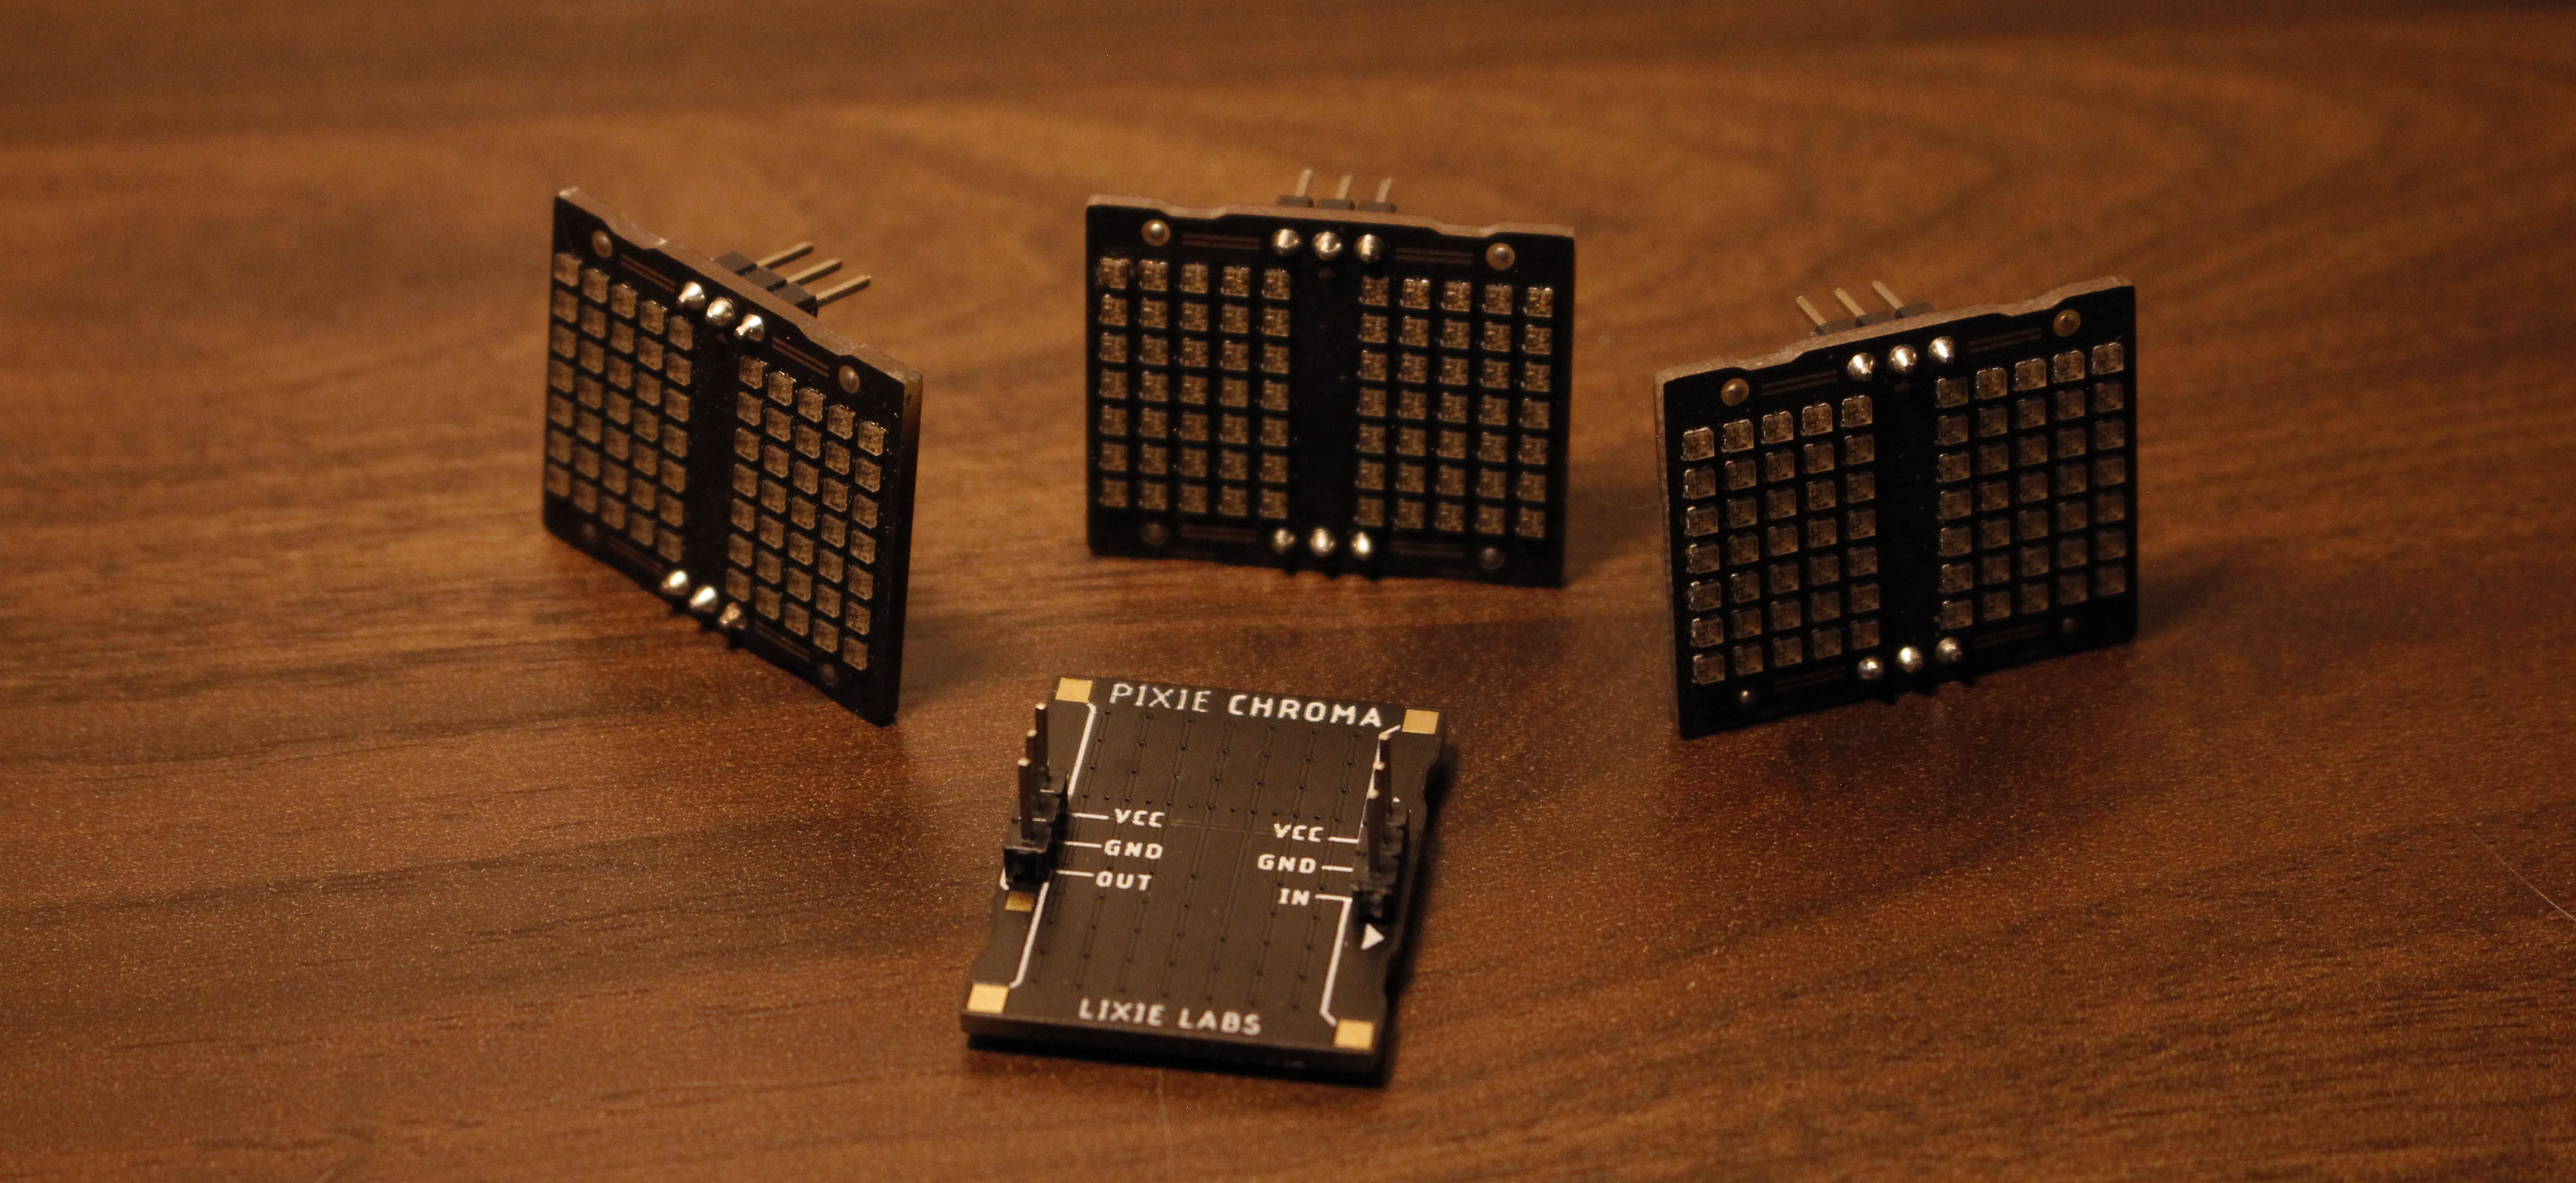
Pixie Chroma (2021)
COLORFUL DISPLAYS FOR FOLKS IN A HURRY - WEBSITE
Read The Arduino Library (C/C++)
Part Highlights
SK6805-EC15 (x70)
- 1.5mm-sized 8-bit RGB Addressable LEDs
A New Standard for Arduino Libraries
I pride myself in how easy my products are to use.
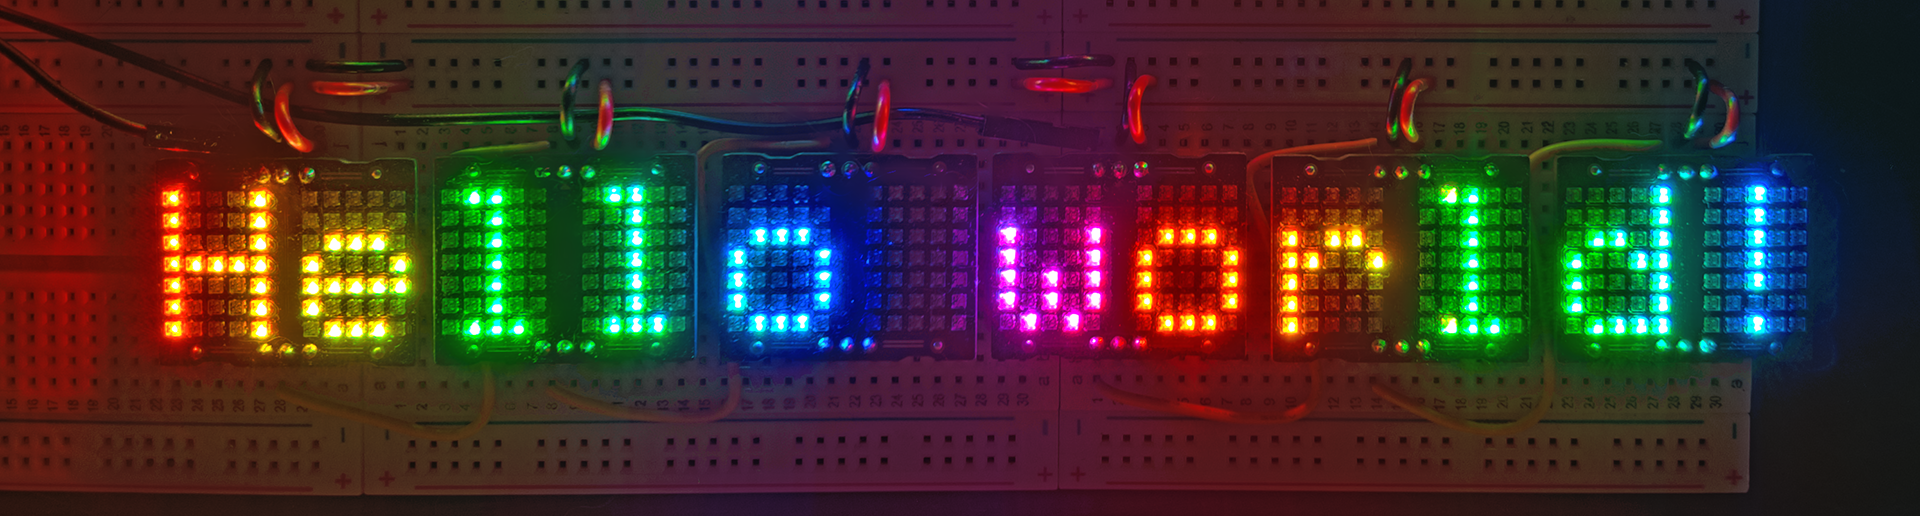
I’ve kept the wiring very simple, with only three wires connected between each breadboard-friendly display. The Pixie Chroma Arduino Library also has many examples that are explained line-by-line so that anybody can understand them. I even included template Arduino Sketches to skip the parts newcomers find tedious, like #include directives and class definitions. Many advanced projects that even seasoned coders would find challenging are hassle-free with the Pixie Chroma library!
#include "Pixie_Chroma.h" // Include library
PixieChroma pix;
#define PIXIES_X  6  // Total amount and         x x x x x x
#define PIXIES_Y  2  // arrangement of Pixies =  x x x x x x

void setup() {
  pix.begin( 13, PIXIES_X, PIXIES_Y ); // ... Use Pin 13
  pix.color( CRGB::Blue ); // ............... Set color to blue
}

void loop() {
  pix.clear(); // ..................... Clear display
  pix.println( "Hello World!" ); // ... Write text on first row
  pix.print( millis() ); // ........... Write the value of millis() on the second row
  pix.show(); // ...................... Show changes
}
Fully Delivered Crowdfunding Campaign
CrowdSupply Campaign Link
1,100 Pixie Chroma displays were manufactured and populated with 77,000 LEDs by PCBWay. After testing every single one of them with a pogo-pin test jig I built, only 0.3% of units were DOA, likely due to how well PCBway packed it in a cardboard grid.
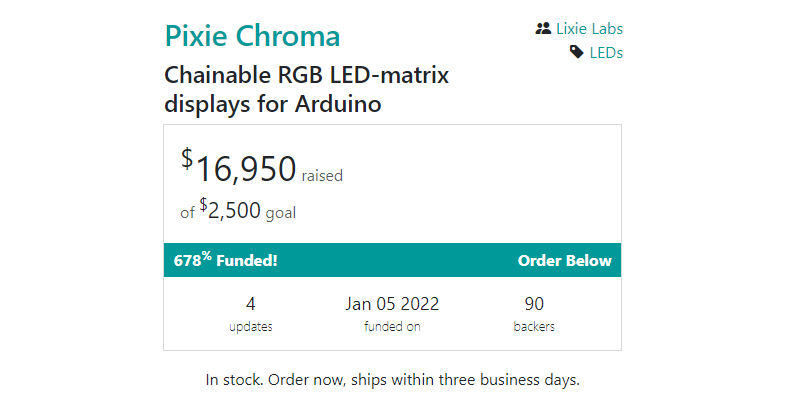
Pixie Chroma was manufactured and shipped to my backers in only 2 months and 13 days, and is now available through Adafruit, Mouser, DigiKey and Pimoroni.
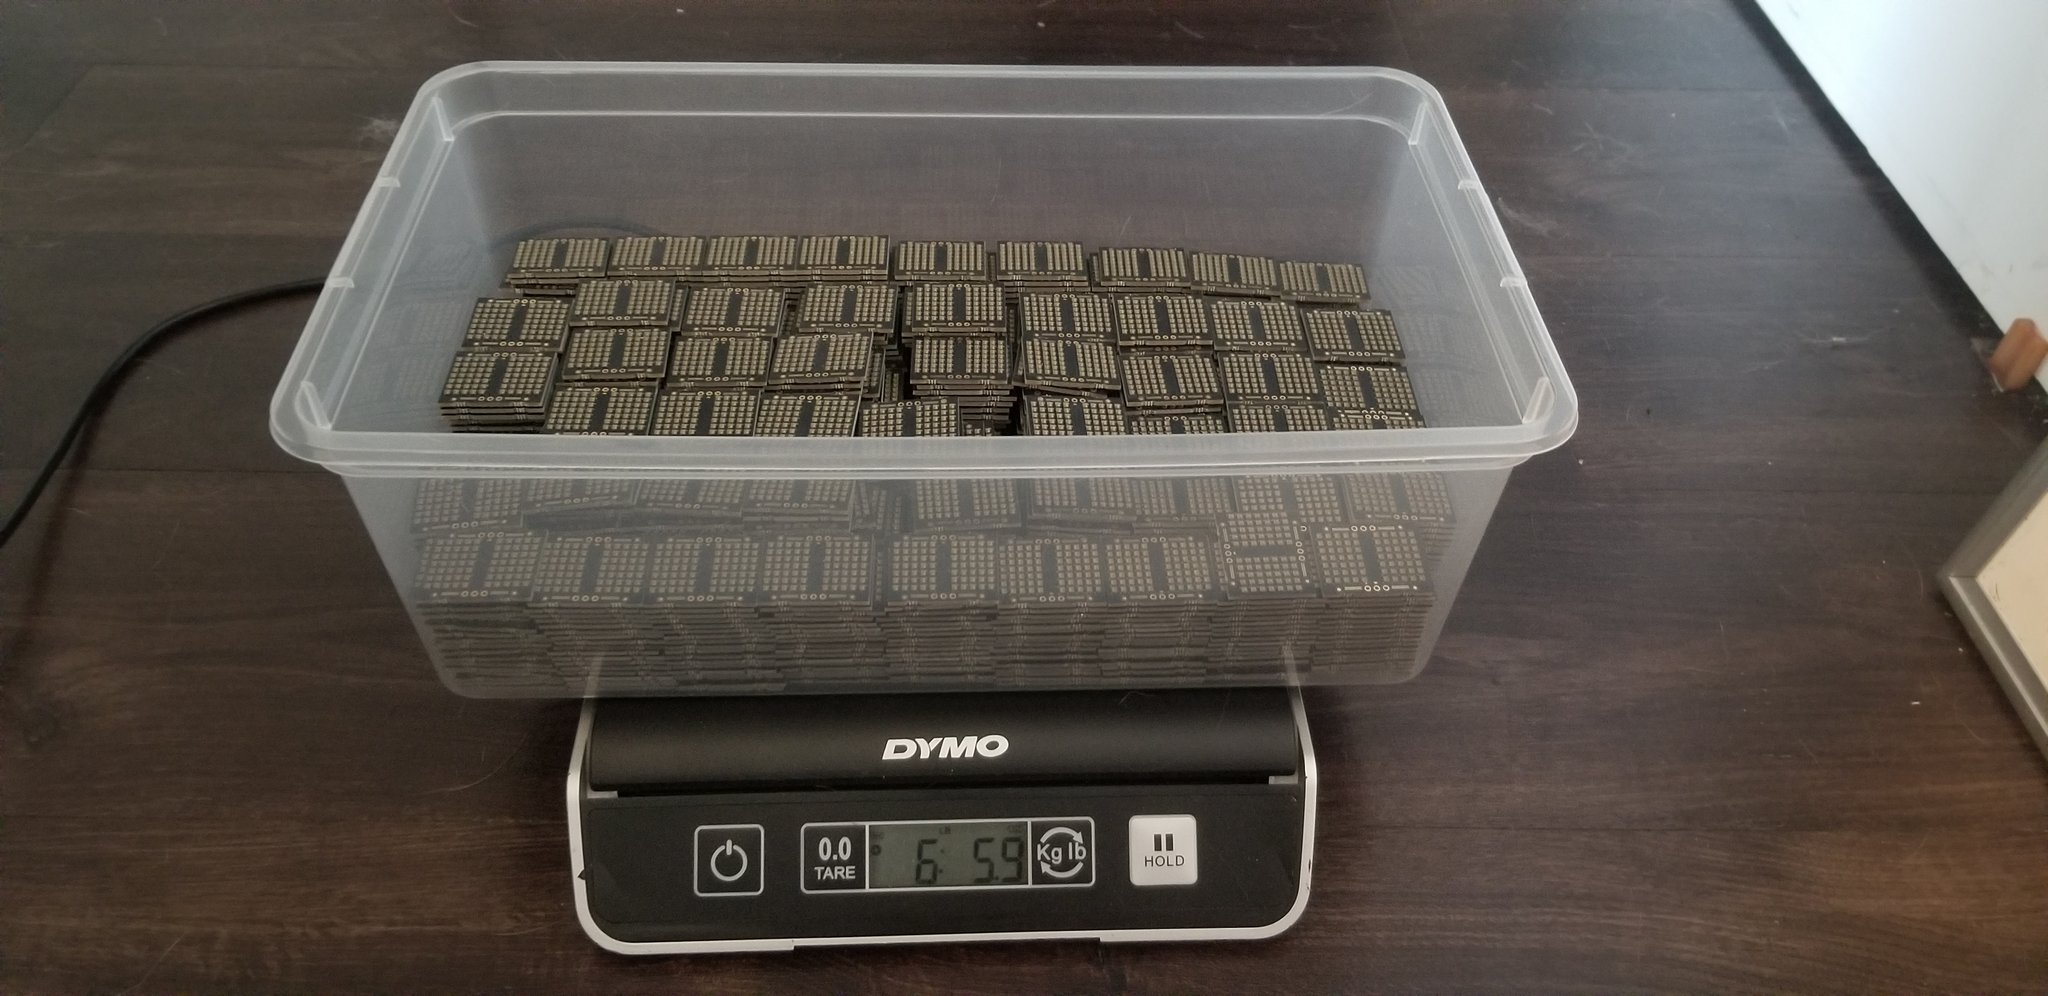
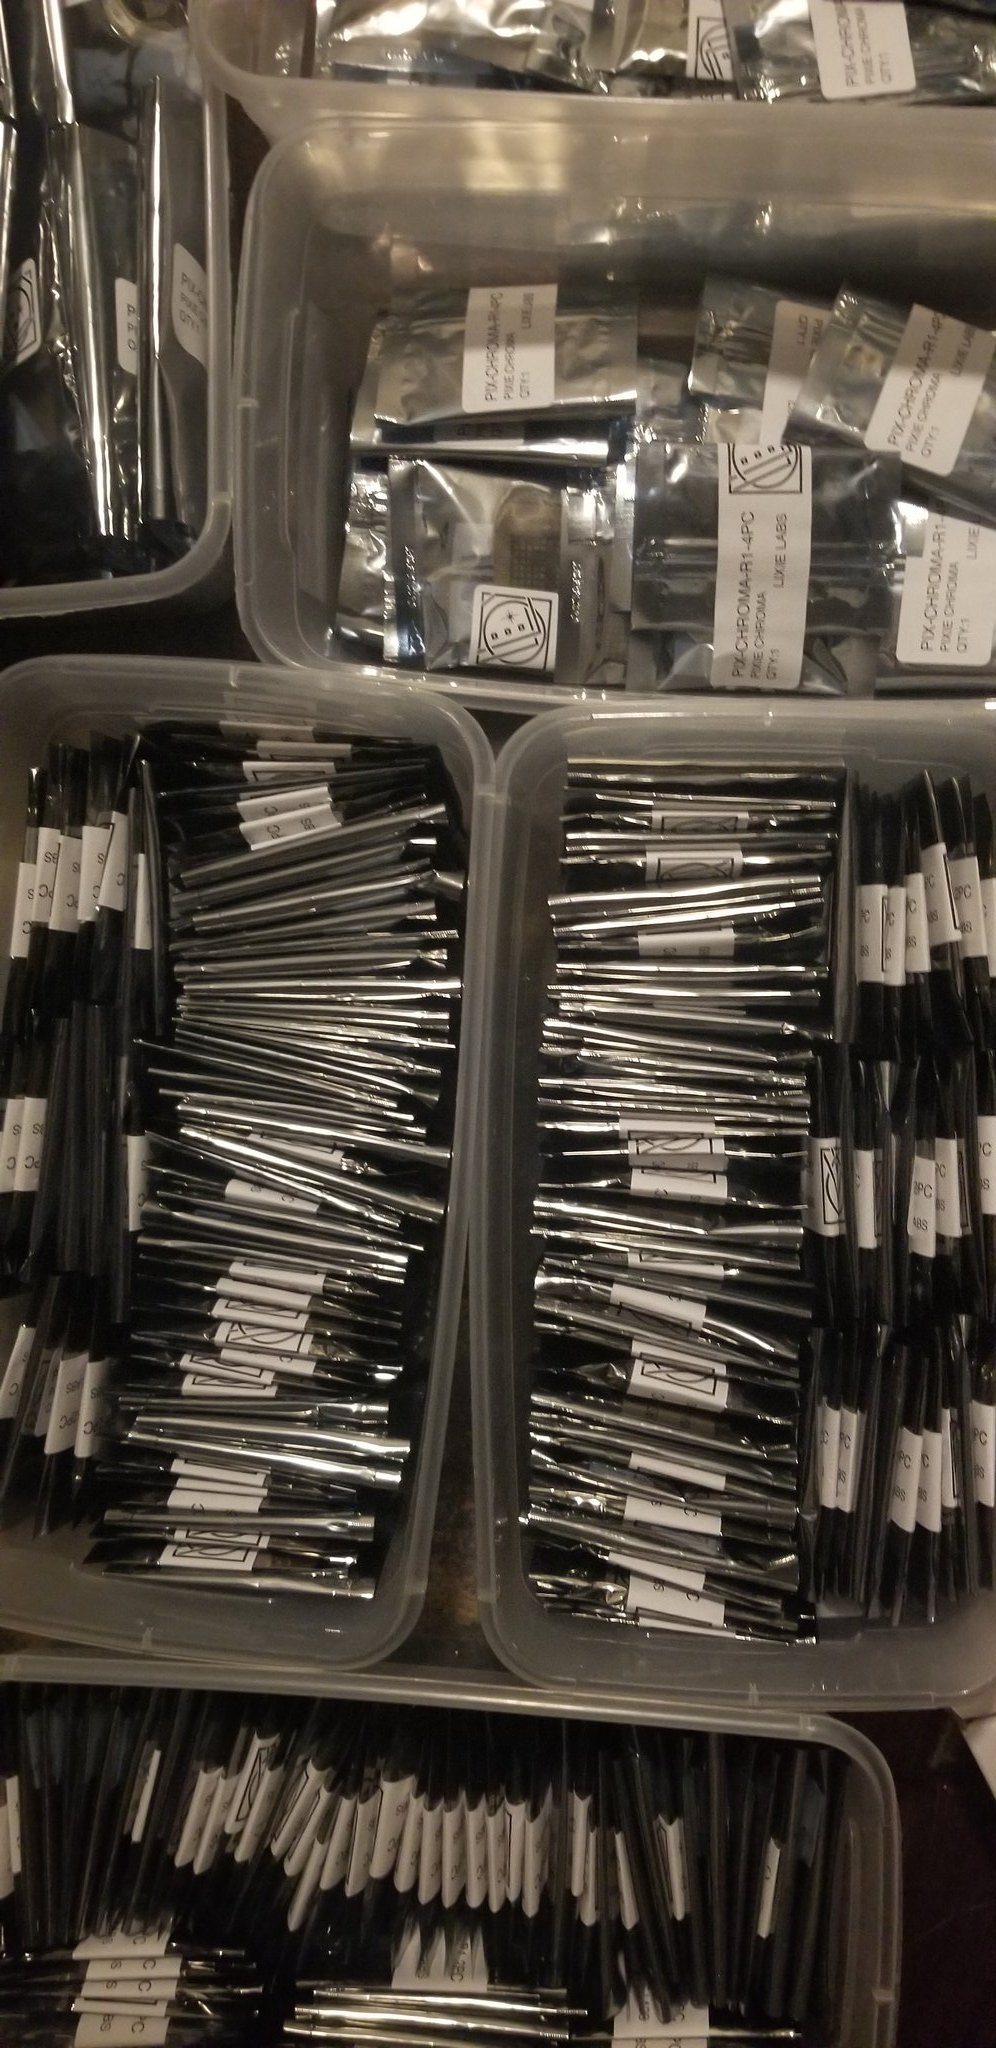
By far, the most painful and time-consuming process was packaging, since there were over 500 bags/labels/cards. Thankfully Mouser handled the customer logistics for me and I could bulk-ship them everything in one go.
Fast Lookups with Mark Bytes
Pixie Chroma allows users to add raster icons to their projects with special writing inside of C strings, called Shortcodes:
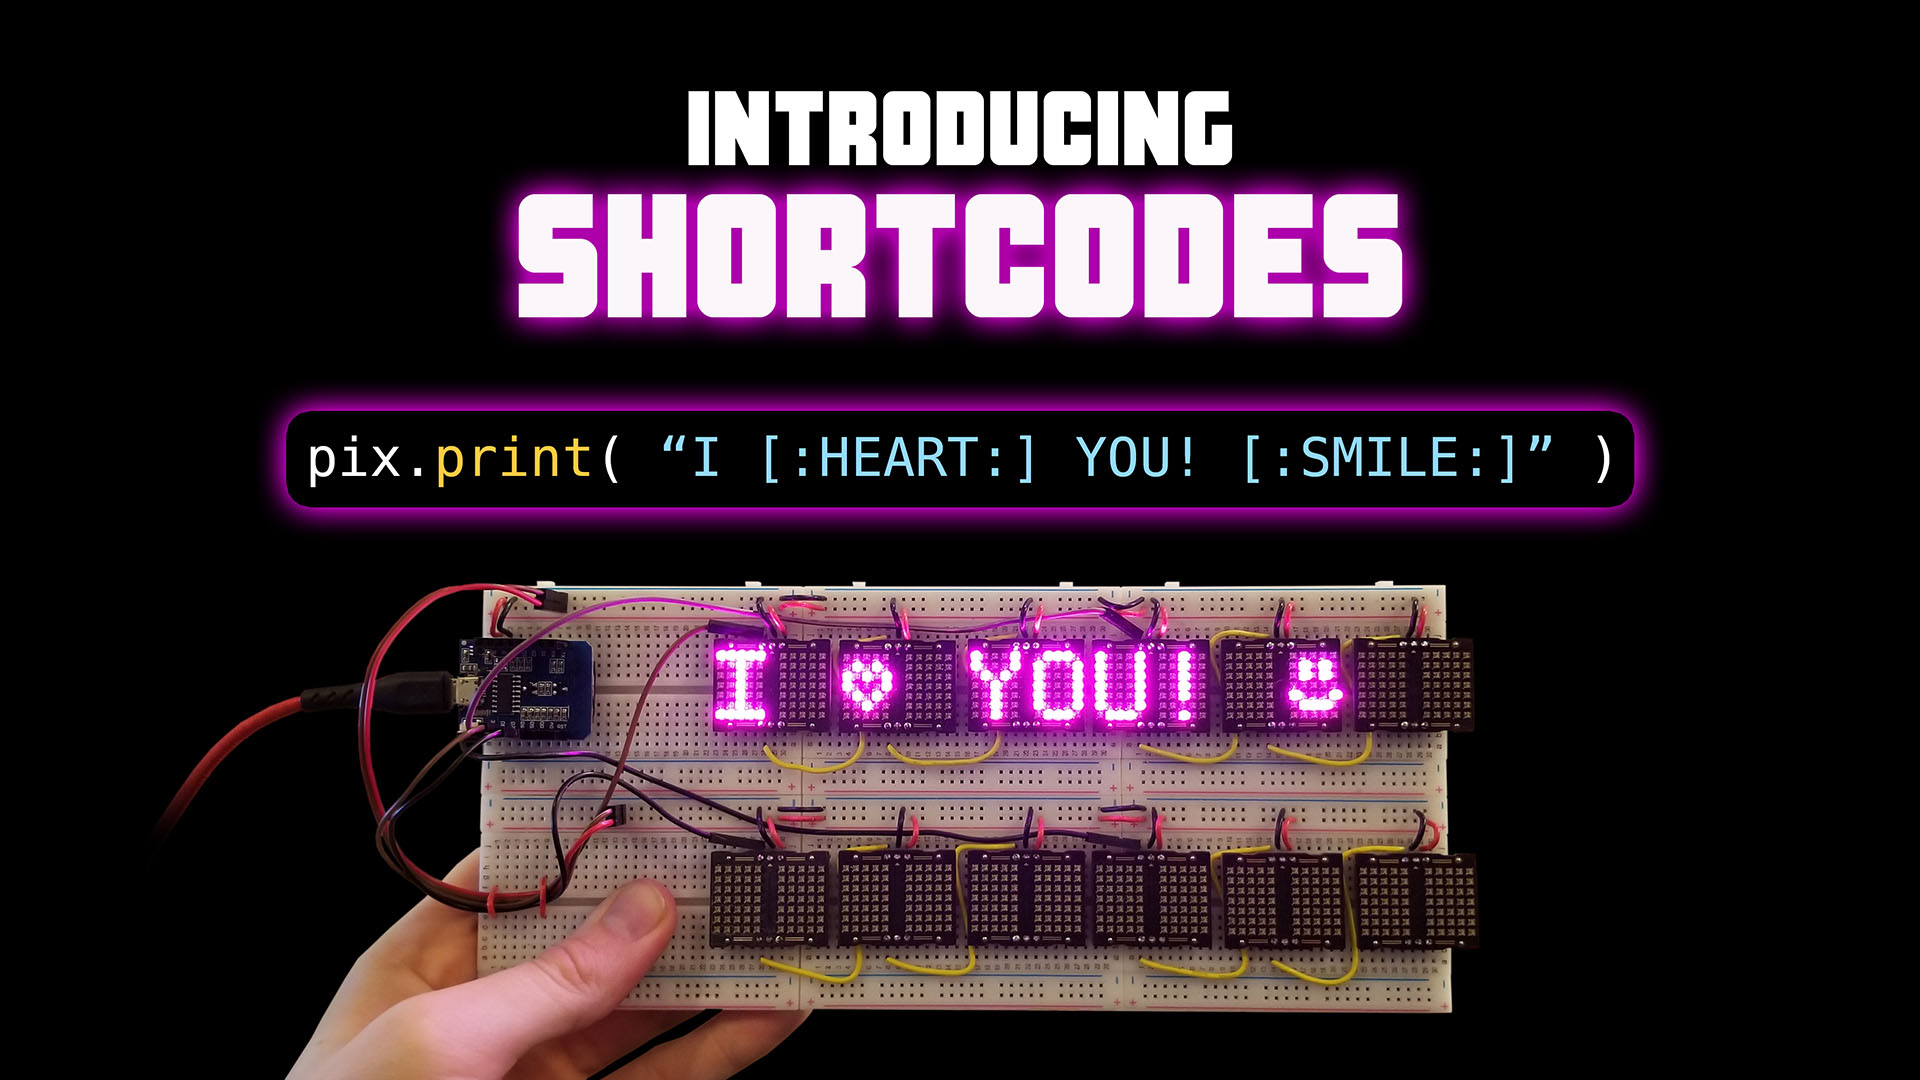
Over 200 Shortcodes are included with the Pixie Chroma library, across many categories like weather, devices, emotions, and more.
Whenever pix.print() is called, the input is checked for shortcodes by looking for the [: and :] markers. When found, the name between the markers is used to traverse a lookup table for the correct bitmap data:
static const uint8_t PIXIE_SHORTCODE_LIBRARY[] = {
// SHORTCODE           COLUMN DATA               MARK  NAME                TERMINATOR
/* [:HEART:]        */ 0x0C,0x12,0x24,0x12,0x0C, 212, 'H','E','A','R','T', 0,
/* [:SAD:]          */ 0x44,0x26,0x20,0x26,0x44, 210, 'S','A','D', 0,
/* [:HAPPY:]        */ 0x16,0x22,0x20,0x22,0x16, 212, 'H','A','P','P','Y', 0,
/* [:ANGRY:]        */ 0x49,0x2A,0x20,0x2A,0x49, 212, 'A','N','G','R','Y', 0,
/* [:SMILE:]        */ 0x10,0x26,0x20,0x26,0x10, 212, 'S','M','I','L','E', 0,
/* [:FROWN:]        */ 0x20,0x16,0x10,0x16,0x20, 212, 'F','R','O','W','N', 0,
/* [:NO:]           */ 0x1C,0x32,0x2A,0x26,0x1C, 209, 'N','O', 0,
/* [:MAIL:]         */ 0x3E,0x26,0x2A,0x26,0x3E, 211, 'M','A','I','L', 0,
/* [:PHONE_CALL:]   */ 0x00,0x63,0x77,0x3E,0x00, 217, 'P','H','O','N','E','_','C','A','L','L', 0,
/* [:WIRELESS:]     */ 0x12,0x49,0x69,0x49,0x12, 215, 'W','I','R','E','L','E','S','S', 0,
/* [:FAIL:]         */ 0x22,0x14,0x08,0x14,0x22, 211, 'F','A','I','L', 0,
/* [:PASS:]         */ 0x10,0x20,0x10,0x08,0x04, 211, 'P','A','S','S', 0,
...
This table employs a simple trick to increase access speed: mark bytes. To find the raster data for the shortcode [:SMILE:], do the following:
- Start at the first mark byte, at index 5.
- Peek at the following byte, compare to the “SMILE” shortcode name (‘H’ != ‘S’)
- Since not equal, skip MARK-200 bytes forward in the array (Next mark byte is 12 steps forward)
- Peek at following byte again
- This time, an “S” was correctly found
- Peek one more index forward to the second character
- ‘A’ != ‘M’ (“SAD” != “SMILE”)
- Since not equal, skip MARK-200 bytes forward in the array (Next mark byte)
- This continues until both “SMILE” and the NULL terminator are found
- The five bytes proceeding the MARK byte of the found Shortcode contain the raster data to return
This lookup saves memory by storing all shortcodes in variable-length space, while still allowing for fast traversal to get results in microseconds.
While I’ve nicely formatted the shortcode lookup table, the microcontroller only sees it as a large 1D array, like this:
static const uint8_t PIXIE_SHORTCODE_LIBRARY[] = {
//  ----- RASTER ------ MARK H   E   A   R   T   0  ----- RASTER ------ MARK S   A   D   0
    12, 18, 36, 18, 12, 212, 72, 69, 65, 82, 84, 0, 68, 38, 32, 38, 68, 210, 83, 65, 68, 0,  ...
}
Custom Icons Designed Online
Online Shortcode Editor Link
I also designed a GUI editor for Shortcode icons which gives out a special number to include in a pix.print() string to embed the icon you designed, or gives the proper name for the icon if it’s already in the library.
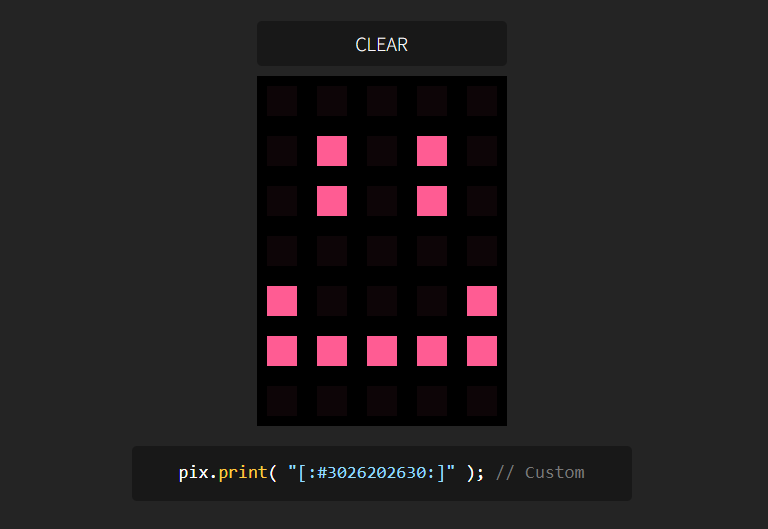
Custom icons are stored in a ten-character string that represents five hexadecimal numbers. The lower 7 bits of the five numbers represent the binary icon’s five columns.
// Built-in preset icon
pix.print( "Here's a smile: [:SMILE:]" );

// Custom "zig-zag" Icon defined with hex
// data generated by the Shortcode Library tool.
pix.print( "Here's a zig-zag: [:#00442A1100:]" );